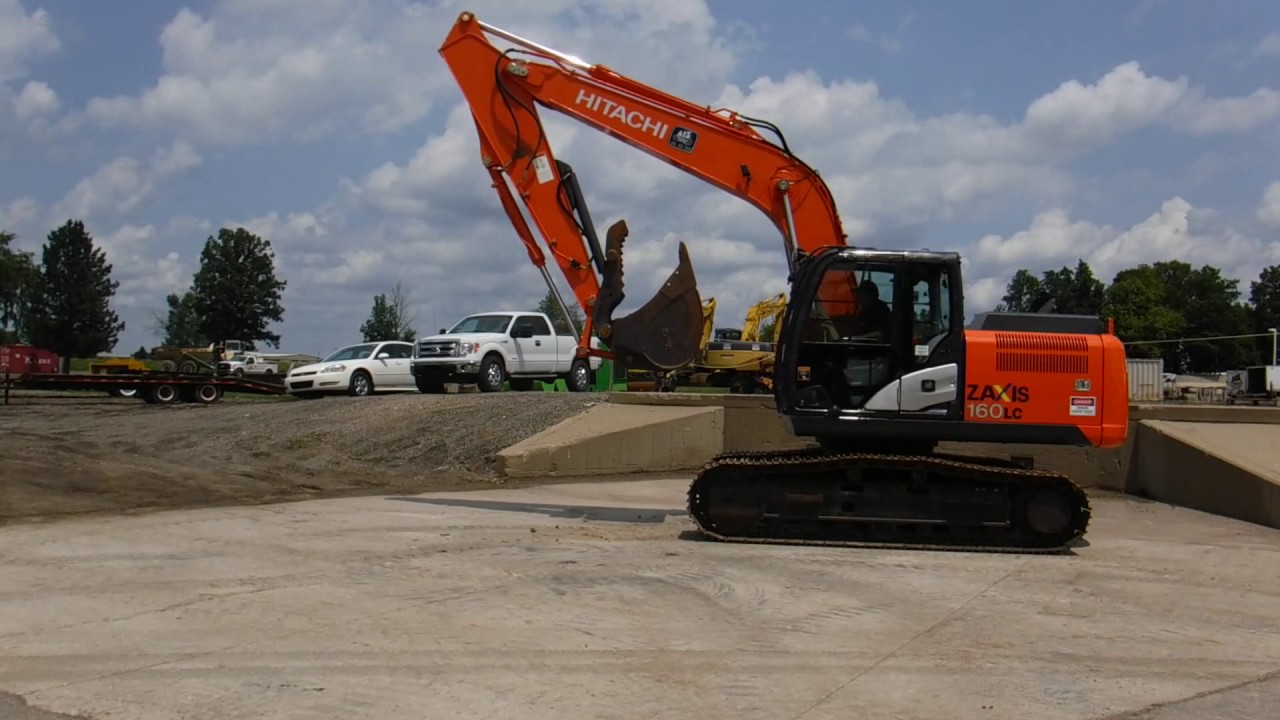
how to hitachi zx160lc swing motor replacement?

It looks like you’re trying to find out about how to replace the motor of your Hitachi ZX160LC Dozer. Luckily, my article can help you with what you need. I know how it feels when your machinery isn’t up to par and you need quick answers. Hang in there, we’ll get through this together.
Step 1: Begin by removing the arm cover, as well as the hydraulic lines to the hitachi zx160lc swing motor
Begin by removing the arm cover, as well as the hydraulic lines to the hitachi zx160lc swing motor. Remove the pin in the center of the motor, and pull out the motor. The central shaft will still be connected to the gearbox and motor shaft by a spline that needs to be removed. This is achieved by pushing inwards on a ring that surrounds the spline. If this does not come out easily then it can be tapped out using a wooden drift and hammer.
Here, you can see the parts being separated from each other, with the center shaft (top), gearbox (middle) and final drive (bottom). The gearbox is connected to a hydraulic pump that allows for remote control of oil flow through its internal valves, which are tiny balls or poppets that have been spring loaded into position. These valves get stuck sometimes due to dirt or wear.
Step 2: Remove the bolts that connect the hydraulic lines to the hitachi zx160lc swing motor and cap off the hydraulic lines
1. Use a wrench to loosen the hydraulic line bolts.
2. Remove the hydraulic lines from the hydraulic lines and cap off the lines.
3. Remove the bolts connecting the hydraulic lines to the hitachi zx160lc swing motor and remove the hydraulic lines from the swing motor.
4. Clean and inspect the hydraulic lines, remove any debris that may be inside of them, and replace them if they are damaged or worn.
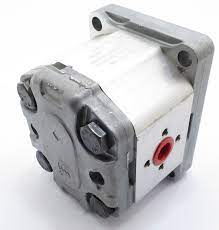
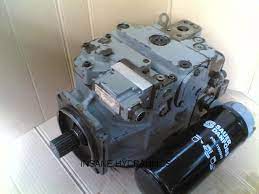
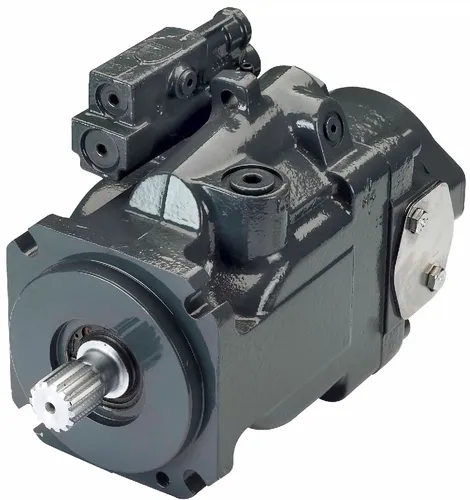
Step 3: Remove and replace your faulty hitachi zx160lc swing motor
1. Raise the excavator and support it with stands. Remove all belts and covers.
2. Remove the engine fan, radiator, hydraulic tank, accumulator, battery and electrical box.
3. Remove the exhaust pipe and intake pipe.
4. Disconnect the oil return line at the base of the motor and drain the oil into a suitable container.
5. Insert a long M12 bolt through the hole in the flange that is bolted to the side of the motor and screw it into a threaded hole in the center of the motor shaft (See image). If this hole has no thread, use an M12 tap to cut a thread into it or obtain an M12 stud from Hitachi with a thread at one end for this purpose (Part No 7265093). Use a torque wrench to tighten this bolt to 350 Nm (258 lb ft).
Step 4: Install and connect the hitachi zx160lc new swing motor to all necessary hydraulic lines, place your arm cover back on, and re-center your boom cylinder
While this job can be done by one person, it’s much easier with two. First, install and connect the new swing motor to all necessary hydraulic lines, place your arm cover back on, and re-center your boom cylinder.
Next, the swing drive will need to be centered. Swing your machine around a full 360 degrees so that you find the center point. Once you have found the center point, it is important to mark it with paint or chalk so that you can come back to this spot if your wires need adjustment later down the road.
Now, remove your existing swing motor. The process of removing and installing this motor is very similar to what we did with our undercarriage work in Part 1 of this video series.
Install the bottom support plate and then start threading your wires through the holes in your arm cover and down into your cab where they will meet at a certain point to connect.
Next up is securing your swing drive in place. You will want to thread everything through as you tighten each bolt down evenly until it is secure.
Once everything is tightened down and secure, you are ready for testing!
Now you know how to hitachi zx160lc swing motor replacement
I have to say that it was a very good experience. First of all, the customer service was great. There was an issue with the part I ordered and it did not fit my machine but was for a similar one. They were quick to respond to my emails and sent out the correct part right away. Now the machine is up and running again.